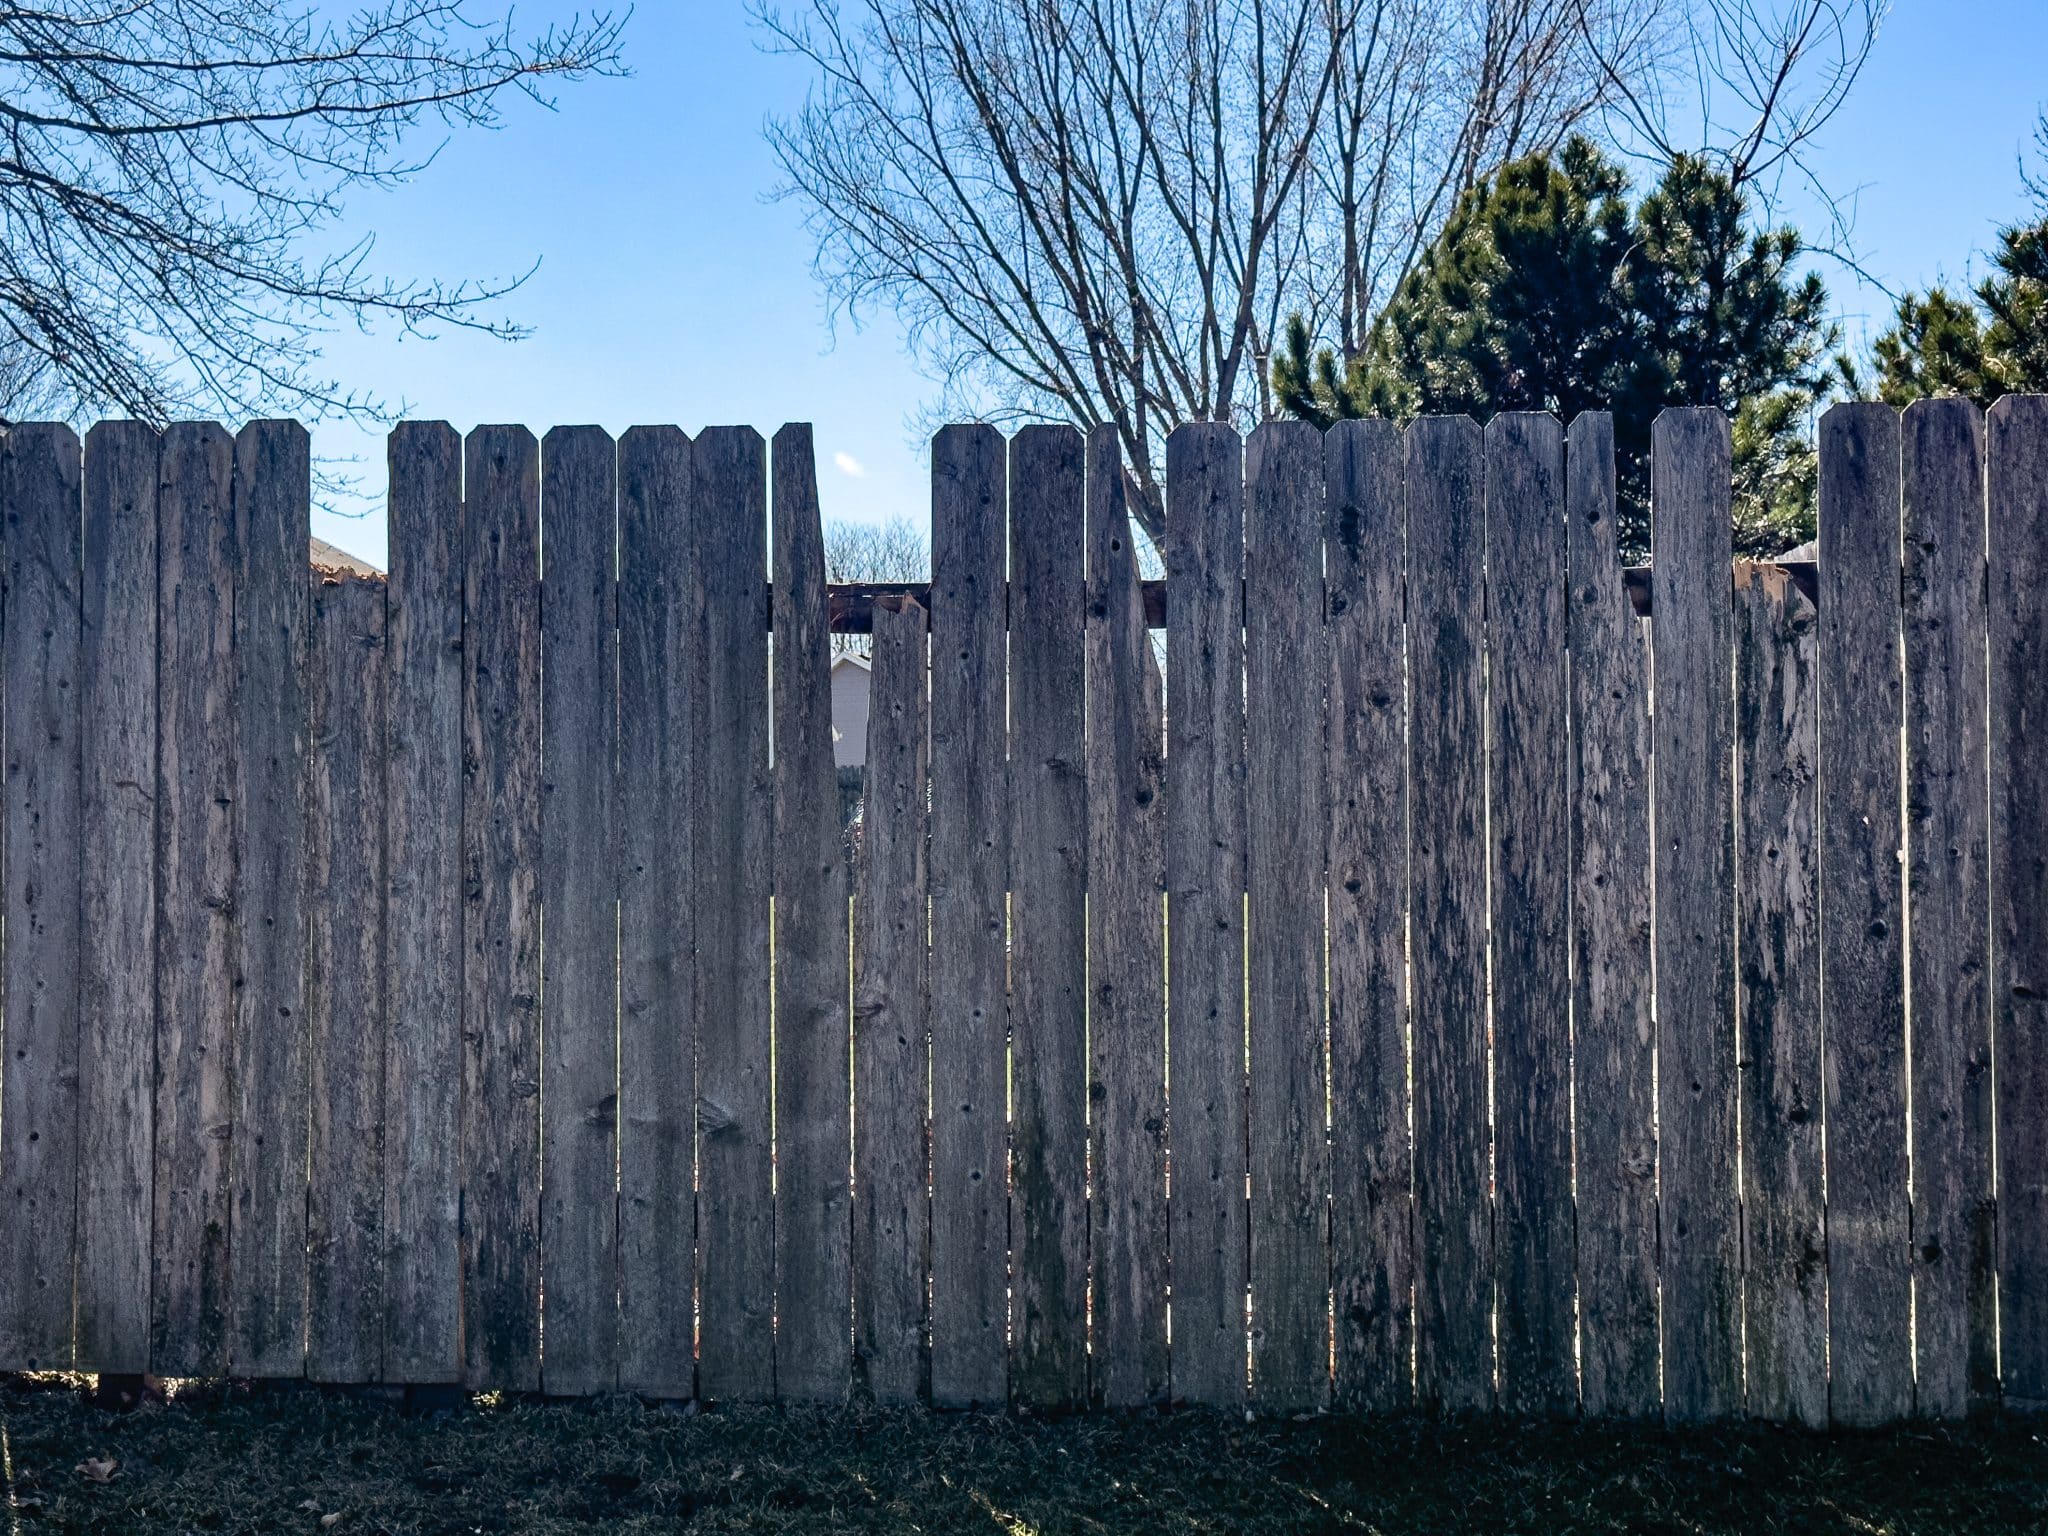
As you survey your property this spring and look out toward the horizon, your eyes may continually be distracted by the half-upright, missing-boards, and weathered-beyond-recognition wooden apparatus previously known as a fence in its earlier life. Ugly! Amiright? #uglyyards.
You’re excited by the new fence already scheduled for installation in a few short weeks, but first, you have to tackle the removal of the existing fence. We understand. Many property owners like to take on old wooden fence removal as cost savings when planning for professional fence installations. Without planning though, you can be setting yourself up for frustration, possible injury, and perhaps spending more than if your fence installer had just done the job themselves.
Research Before Removing Old Fence Is Key To Avoiding Property Line Issues
Consider a survey if you don’t already have one to determine property lines. If a fence is straddling your property and your neighbor’s, you may want to consider their needs as well. If you are removing the rest of the fence, they may be just fine with you removing the shared divider.
If they do not want the fence removed along their property line, you will have to let it be. Your new fence should be installed within your property boundaries. If you are worried the side-by-side fences will make mowing between them difficult, visit the issue with your fencing contractor.
If you are making way for a new fence or just want a fence-free view entirely, you are looking at total fence removal.
If you are trying to salvage your wooden fence, check the posts for structural soundness. If they seem to be stable, you may just need to replace the old wood boards between the posts with fresh boards.
Two Approaches To Old Fence Removal
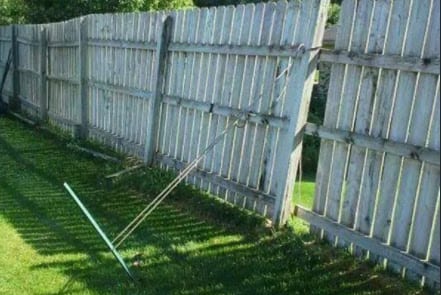
Board-by-Board Method
This process is best used for smaller fences or if you are going to be replacing the old pieces with fresh boards. Get your inner Daniel-son ready for this as it is somewhat tedious, but can be very methodical and zen-like. You may want to watch Karate Kid (the original) as a warm-up or much-needed procrastination activity.
Key Project Points
- Tools: A claw hammer, closed-toe shoes (safety boots would be ideal), a set of gloves to prevent blistering, a bucket, and safety glasses are your friends for this project.
- Surroundings: Make sure kids and pets are well-removed because rusty nails are nobody’s friends.
- Bang the board with the claw hammer away from the flat nail head. This will provide you some space to wedge the claw behind the board to pull the nail out.
- Depending on your final use for the board, you may want to tap out the nail entirely (for safety) and drop it in your bucket. If you prefer, you can hammer the nail sideways to fit the sharp side flush with the board. Be sure you want to do this first because it is a pain to undo.
- Make your way around the fence line stacking wood into small piles and keeping an eye out for fallen nails.
- Once complete, you should walk your property and check for fallen nails. You may consider renting a magnet from a tool supply rental or borrowing one from a neighbor if you don’t own one.
Section Method
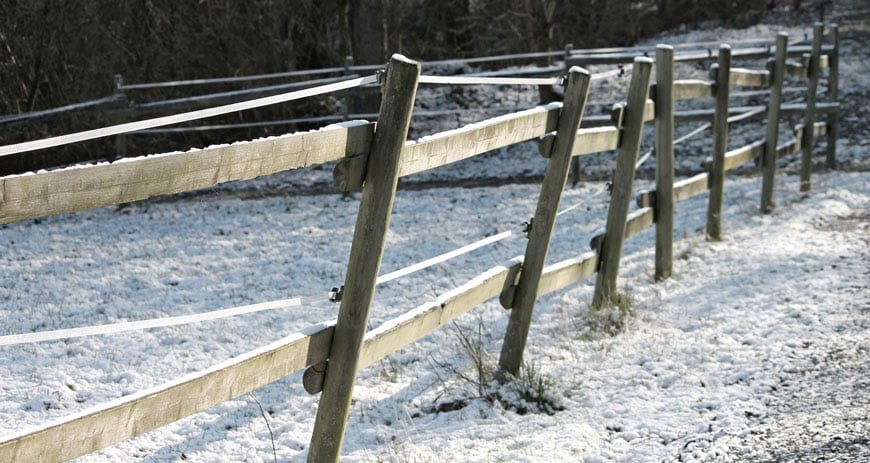
This is a good approach if you either need to tackle the project quickly, have a large fence, or don’t know what you want to do with the wood next. Keeping it intact as much as possible will save you from unnecessary reassembly if you end up using large pieces for projects. This method is also easier for carrying to haul it away.
Key Project Points
- Tools: These will be the same as above with one addition. An electric saw will easily power through the board cuts that will need to be made.
- Surroundings: Again, check to make sure animals and children are not in the working area.
- Make vertical cuts through the fence boards, right where the boards meet the support posts.
- Cut section lengths while considering where they will be stored and size accordingly. If transporting in a vehicle, the length should not be too long to fit a truck bed or inside a van.
- Walk the property line with a magnet to check for fallen nails.
Tackle Fence Post Removal Last and Do It Right!
Most wooden fences were installed with concrete-supported posts. Perhaps you lucked out and the previous owner simply did a shoddy job and installed without structure support (maybe the reason why your fence looks so sad and suffered from pulling boards).
Key points
- Tools: 2×4 about 8 feet long, length of chain, shackle, and car jack (optional but very helpful)
- Prep by watching some YouTube videos if you want some helpful tried-and-true methods. In essence, if you remember some high school science, you will be creating a fulcrum-type pivot point above ground to remove what’s under the ground — concrete.
Steps
- Pull and push the post in all directions evenly to loosen its place in the ground.
- Wrap chain around the post and last quarter section of the 2×4 tightly, with most of the chain turning on the post rather than the 2×4 for maximum grab.
- Insert shackle into the chain to keep it tightly wound.
- Place car jack under the post at the shortest end; crank car jack to start lifting post from the ground until fully cranked.
- Grab post by the other end furthest from the post and lift. With this leverage, the post will almost completely pop out of the ground.
- Fill the holes with fill dirt and seed if you are not replacing the fence, or if you are, the new fence posts don’t line up to your original footprint. You don’t want to leave ankle breakers behind for some hapless person. It’s just neighborly, and if you are the property owner you are liable for other people if they are injured on your property.
You can also rent, borrow, or purchase a T-post puller to do the job, but then you don’t get the strong workout you were hoping for, and savings might be why you’re taking the fence down yourself anyway, right?
What Can I Do With My Old Fence?
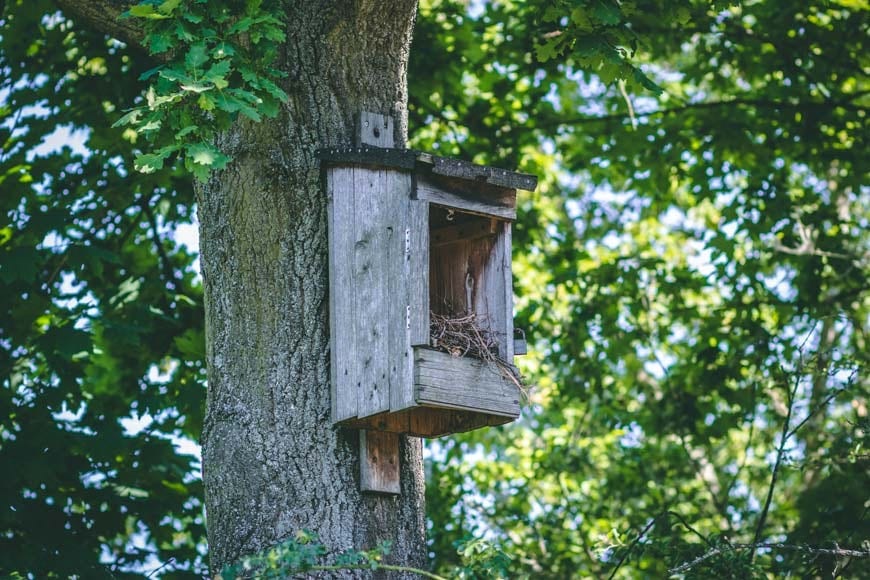
Whether it’s whole-fence or partial removal, you’ll be left with a stack of wood — some parts damaged but some still usable. You can salvage it many ways including these four:

- Upcycling: If you’re a crafty sort, consider other ways to repurpose the wood. You can construct raised garden beds, small side tables, benches, flower boxes, birdhouses, or other decors. The world’s your oyster if you check out sites like Pinterest and other DIY-outlets.
- Offer to others: If you are part of a Buy Nothing group on Facebook or have the Nextdoor app, you can see if others in your community are needing wood supplies. Check with your local government park department or area schools that teach woodworking as well.
- Firepit (warning): You won’t need to buy your wood if you have untreated wood to burn. Do NOT burn pressure-treated wood as it is toxic to inhale.
- Recycle/Disposal: Call area recycling businesses to see where you can bring your old materials. If you cannot find one in your area, you may have to hire a service to remove it or bring it to your local transfer station and landfill. Be prepared to pay disposal costs based on material weight.
Call Northland For Your Fencing Needs
Ready for a new fence? If you don’t want to be bothered with the hassle a fence removal requires, just reach out to us at Northland Fence Minnesota. We take care of the details for our customers, like checking with local zoning regulations and professionally executing your project. We understand the importance you place on your property value. Our expertly installed fencing has been standing the test of time through the region’s unforgiving weather demands since 2004.
Now that your unsightly fence will soon be gone, consider our line of American-made products installed without the mess of digging holes for concrete footings. When we install a fence, we dig deep — literally — and do it right with our 4-foot post-driven vinyl, ornamental steel, and chain link options to keep your yard secured and protected inside and out. Check out our fence builder tool to get dreaming about your new-and-improved outside space today.
You won’t find Scammy the Contractor among any of our employees (not subcontractors), and we are committed to remaining Minneapolis’ fence company for years to come. Call Northland Fence Minnesota today at (763) 316-4881.
FAQs:
- How Do You Remove Old Fence Panels?
Fence panels can be cut with an electric saw in sections, or you can use a claw hammer, nails, and some muscle to pull off individual boards.
- How Much Does It Cost To Remove an Old Fence?
If you are getting a new fence, removal can be negotiated into the project. If you are upcycling, you will have little-to-no costs, just time and labor. If you need it picked up and hauled away, reach out to local scrapyards or contractors in your area and expect to pay a fee.
- How Do You Take Apart a Wood Fence?
Read above for Northland Fence Minnesota’s step-by-step instructions if you are removing your old wood fence yourself.
